What does preserved moss need before framing?
Before preserved moss goes into a frame, it must be clean, dry, and free of loose debris. The moss also needs a stable backing material and a seal that prevents moisture from reaching it. Getting these conditions right is what turns a handful of sheet moss or reindeer moss into a lasting interior display.
Why preparation matters
Preserved moss has already been treated to replace its natural moisture with a glycerin-based solution. That treatment keeps the moss soft and flexible without the need for water or light. But the preservation process does not make the moss indestructible. If it is placed into a frame while still damp from the preservation bath, or if the backing board holds residual moisture, the moss can develop mold or lose its color over time. A frame that traps humidity will undo the preservation work within weeks.
The goal of preparation is to give the moss a stable, dry environment where it can sit for years without fading, crumbling, or growing anything it should not.
Drying the moss thoroughly
Preserved moss arrives from a supplier or from your own treatment process with a certain amount of surface moisture. Even if the preservation liquid has been absorbed, the outer layer of the moss can feel slightly damp. That surface moisture needs to evaporate before the moss goes into a sealed frame.
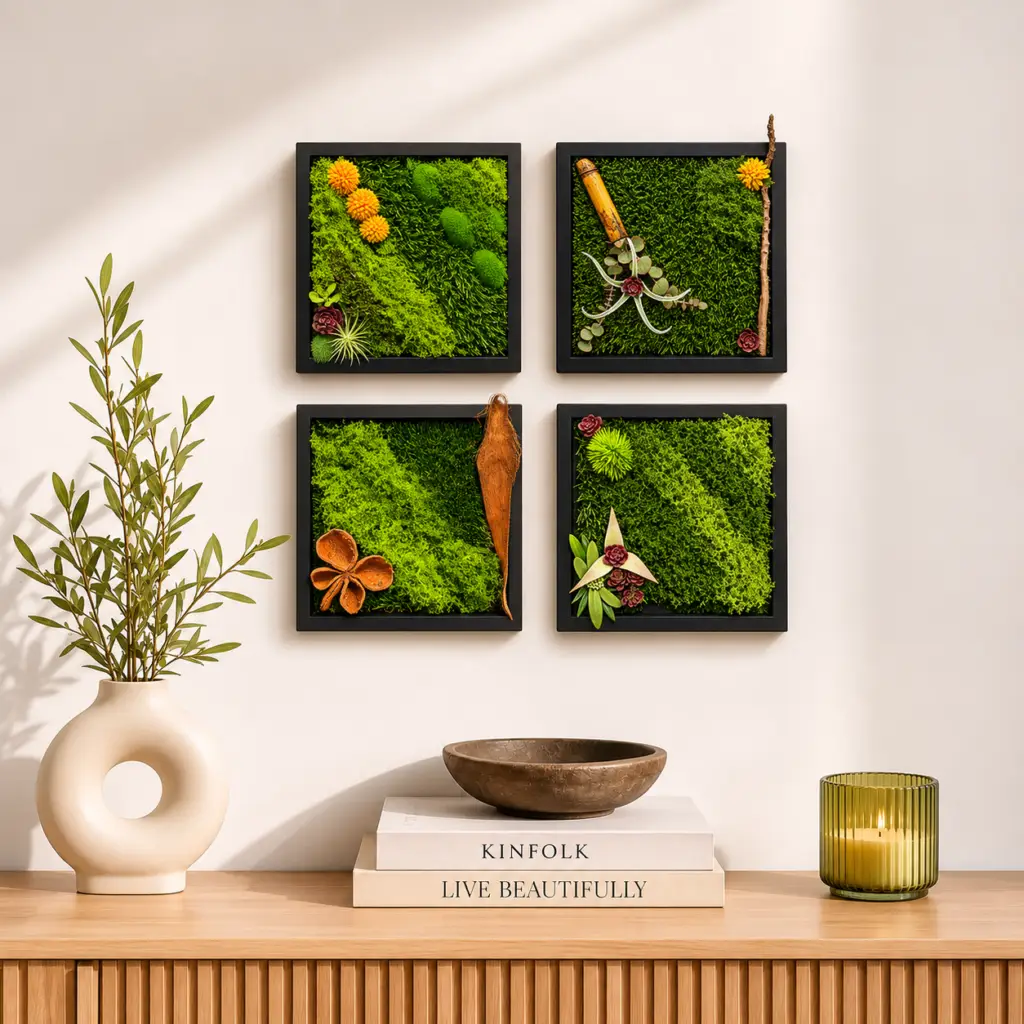
Spread the moss out on a clean, dry surface - a baking sheet lined with paper towel works well - and let it air dry for 24 to 48 hours. Turn the pieces once or twice during that time so air reaches every side. The moss is ready when it feels dry to the touch and no longer leaves a damp mark on the paper towel. Do not rush this step with a hairdryer or a heater; gentle air drying preserves the texture and color.
Checking for loose particles and debris
Sheet moss and cushion moss often carry small bits of bark, soil, or dust from their original growing environment. Reindeer moss, which is actually a lichen, can have tiny twig fragments mixed in. If these loose pieces are left in the moss, they can fall off inside the frame and create a mess, or they can introduce organic material that might decay over time.
Give the moss a gentle shake over a trash bin. For stubborn debris, use a soft brush - a clean paintbrush or makeup brush works well - to sweep away particles without damaging the moss structure. Pay special attention to the back side of sheet moss, where more soil tends to cling. A quick inspection under good light will catch most of the debris.
Selecting the right backing
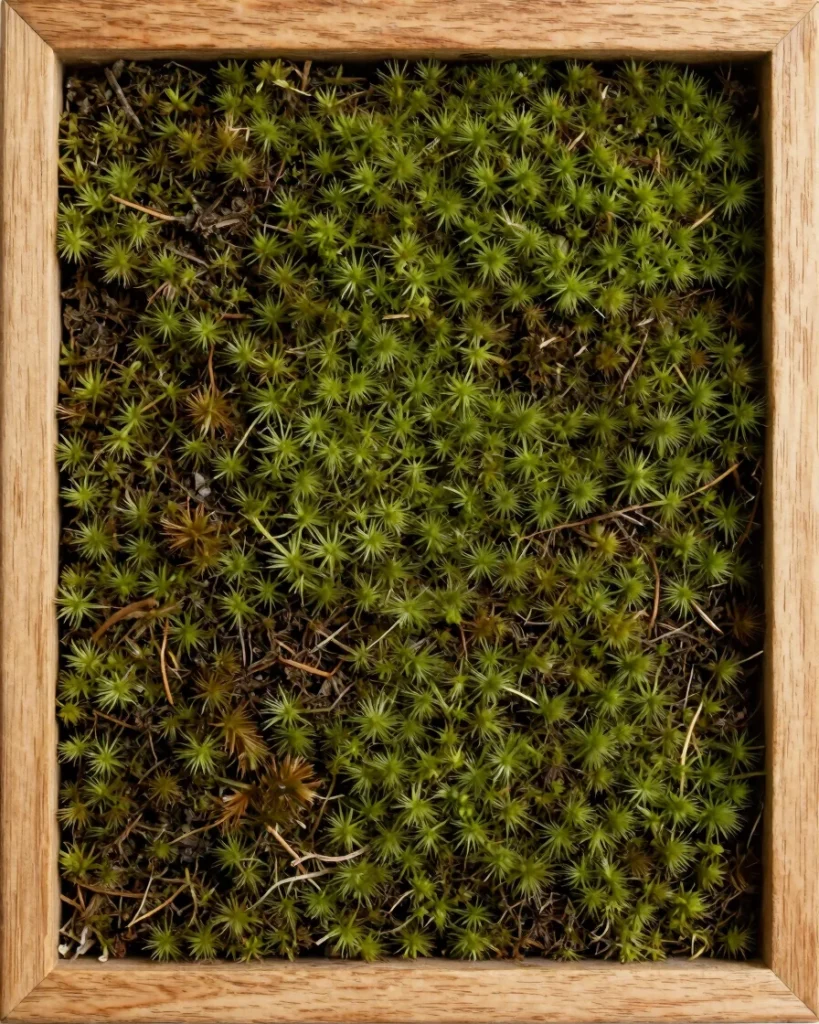
The material behind the moss matters as much as the moss itself. A wood frame with a solid backing provides a stable base, but the backing must be non-porous or sealed so that moisture from the moss or from the room cannot soak into it. Medium-density fiberboard (MDF) or plywood that has been painted or coated works well. Raw cardboard or untreated wood can absorb humidity and cause the moss to discolor.
Some framers glue a thin foam board or cork sheet onto the backing before attaching the moss. That gives the moss a surface it can grip and adds a slight cushion. The foam board should be acid-free and, ideally, closed-cell so it does not hold moisture. If you are using a kit from a site like mosswallart.design, the backing materials included are already chosen to work with preserved moss, so you can follow the kit instructions directly.
Applying the adhesive correctly
Not all glues are safe for preserved moss. A water-based glue can rehydrate the moss and ruin its preservation. Hot glue, if applied too thickly, can melt the moss fibers or create lumps that show through the surface. The best approach is to use a low-temperature hot glue gun with a thin bead, or a specialized moss adhesive that is solvent-based and dries clear.
Work in small sections. Apply a line of glue to the backing, press the moss onto it, and hold for a few seconds. Avoid smearing glue onto the visible tops of the moss. If you are using reindeer moss, which comes in small clumps, you can glue each clump individually to create a textured surface. For sheet moss, a continuous thin layer of glue on the backing gives a smooth result.
Sealing the frame
Once the moss is in place, the frame needs a seal that keeps out dust and humidity. A glass or acrylic front panel is standard for framed moss art. The panel should fit snugly into the frame rabbet, and a thin strip of foam tape or felt can be added around the inside edge to create a dust seal. Avoid using silicone caulk or any sealant that releases fumes while curing; the fumes can react with the moss color.
The back of the frame should be closed with a dust cover - a sheet of kraft paper or thin cardboard that is taped to the frame. This lets the moss breathe slightly while keeping out most dust. Do not tape the dust cover completely airtight; a small amount of air exchange helps prevent condensation inside the frame.
Allowing for settling time
After the frame is assembled, let it sit flat for a few days before hanging it. During this time the moss will settle into its adhesive and any slight shifts in position will happen while the frame is still accessible. Check the frame after 48 hours: if any moss pieces have loosened, you can re-glue them before the piece goes on the wall.

This settling period also lets you catch any signs of moisture that might have been trapped. If you see condensation on the glass or a damp smell inside the frame, remove the moss, dry it again, and repeat the assembly with a drier backing board. It is easier to fix the problem before the frame is mounted.
Preserved moss wall pieces are popular because they require no watering or trimming. But the work that goes into preparing the moss before it enters the frame is what keeps those pieces looking fresh for years. Taking the time to dry, clean, and properly adhere the moss - and to seal the frame against moisture - gives you a display that stays stable without ongoing maintenance. For anyone assembling a kit from mosswallart.design, the same principles apply: start with dry moss, use the right adhesive, and make sure the frame seals well. The result is a piece of wall art that brings a natural texture indoors without the fuss of live plants.